| 1. Turn on the PC and login using your mc3.edu credentials |
� |
|
�
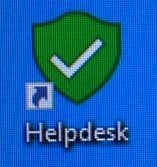
2. Once logged in, double click on the green �Help Desk� icon on your Desk
a. A folder will open. Double click on �Install Zoom Client�
b. The install will begin and will take approximately 60 seconds to complete. If the �Update available� screen pops up, click on �Update� and wait for the update to complete (about 30 seconds).
|
� |
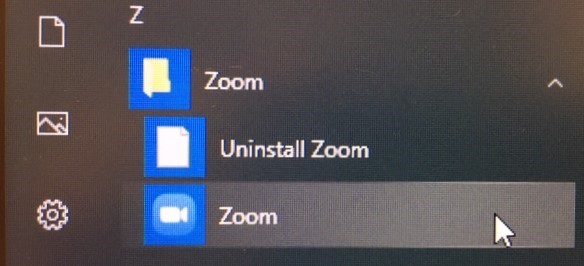
| 3.�If the Zoom login page does not automatically appear, click on the �Start� menu and then scroll to the very bottom and click on the Zoom folder, then select the �Zoom� icon. |
� |
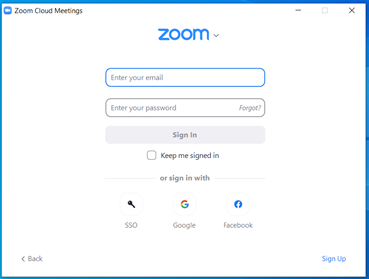
| 4. Click �Sign In� and then Click on �Sign In with SSO�
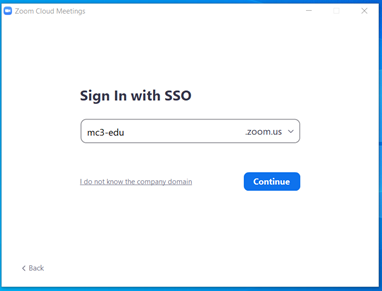
b. Confirm the company domain is set to mc3-edu.zoom.us and click �continue�.
c. You will then be prompted to enter your mc3 username and password to login..
�
�
�
�
�
�
�
�
�
|
�
|
|
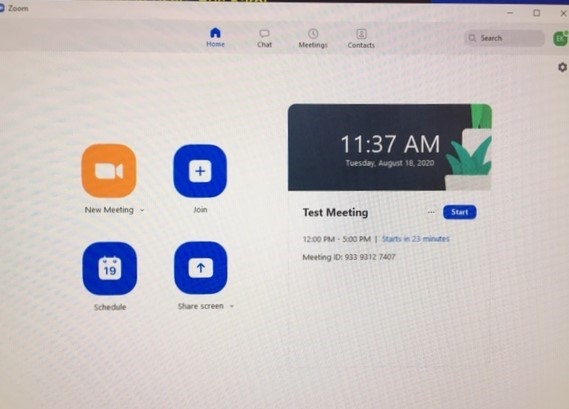
5. Click �Launch Zoom� and the following page will appear:
Zoom is now installed and you are ready to start your meeting. If you previously installed Zoom on this computer, you can skip to step 6 below:
|
 � � � �
�
�
�
�
�
�
|
|
�
�
�
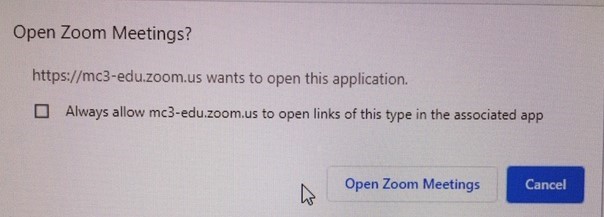
6. You can now click on your Zoom meeting link to start your meeting.
a. The meeting link is the one provided to you when you created the meeting, or sent to you in an email if it was created by somebody else.
b. When prompted, select �Open Zoom Meetings�
|
 � � |
7. A screen will appear asking how you would like to connect your audio. Click on �Join with Computer Audio�. |
� |
8. You should now be connected to your meeting. Use the controls along the bottom of your screen to mute/unmute your audio and/or video. |
� |
|
Sharing Your Computer Screen
*** Please Note: You must be a Host or Co-Host in order to share your screen. To elevate somebody to a co-host, click next to their name and select �Make Co-Host� (Must be done by a current host or co-host).
�
1. If you would like to share your computer screen, select �Share Screen� and then choose which application you would like to share.
a. Alternatively, you can choose to simply share your entire screen by selecting that option.
2. To stop sharing, click on the �Stop Share� button along the top of your screen.
|
| ��
Recording Your Meeting
1. If you would like to record your meeting, select the �Record� button and then �Record to Cloud�
2. When you are done, click on �End Meeting�
a. An email will be automatically sent to you with a link to your recording once it is processed and ready for viewing.
�
|
|
Camera and Microphone Troubleshooting
1. If you are having trouble with your microphone, speakers, or camera, click on the small arrow next to the microphone icon (or camera icon).
a. From there, click on "Test Microphone and Speakers" and Zoom will walk you through selecting the best microphone and speaker option for your computer.
�
|
|
If you require additional assistance, please contact the MC3 Help Desk at x6495.
|