Outlook - Work Hours and Location
Estimated Reading Time: 2 Minutes| 2021 |
Outlook - Work Hours and Location
The new working hours and location (WHL) feature allow users to specify whether they will be working remotely or in the office. They can also set flexible working hours for each day or have multiple work slots in a day.
Note:This Feature is only available in the Outlook web app through your browser.
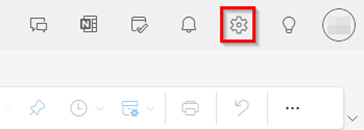
| 1.In the web version of Outlook, select the gear icon on the top right of the page to access the settings window. |
|
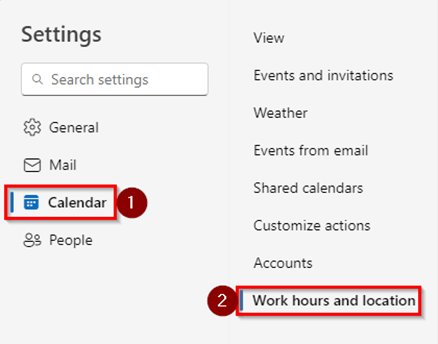
| 2.Select Calendar on the far-left sidebar, then select Work hours and location on the left sidebar. You will now see the Work hours and location settings. |
|
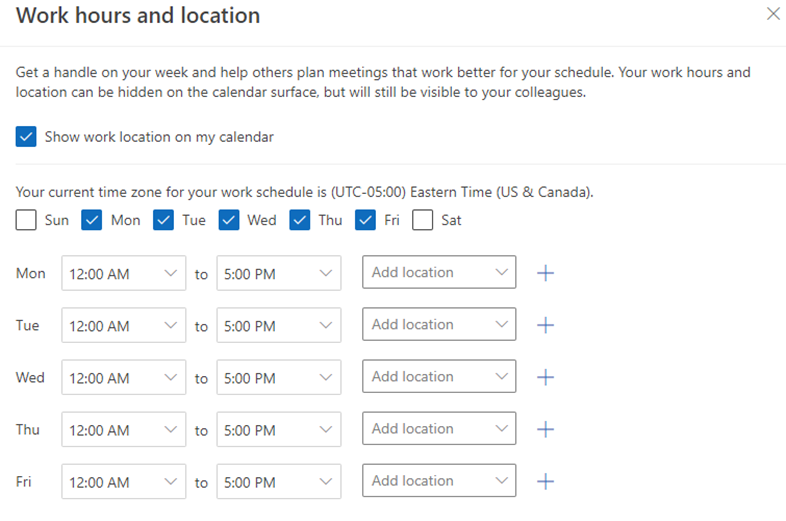
| 3.First choose whether your work location will be visible on your calendar by selecting the check box next to Show work location on my calendar. Then, select which days you work. |
|
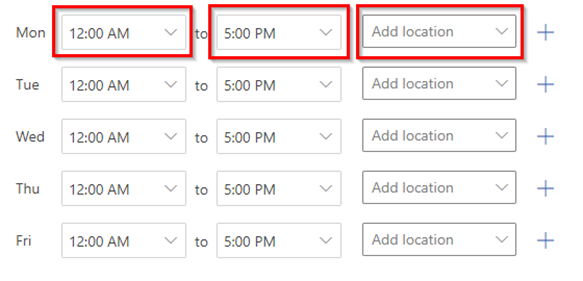
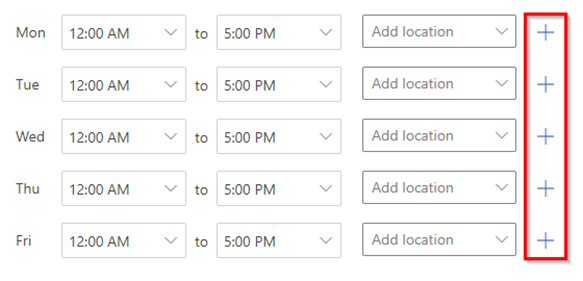
| 4.Now you can add your working hours by manually typing into the start and end time fields, or by using the dropdown menu in each field. You may also choose to add your work location in the Add location dropdown menu. |
|
| 5.If you need to split your available hours due to lunch or any other reason, use the plus icon on the right side of the Add location field to add a new time block for that day. |
|
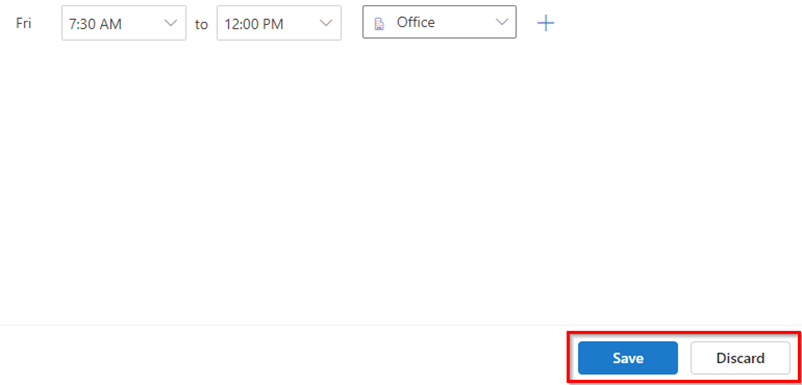
| 6.Once you are done you can decide between saving and discarding your changes. If you are satisfied with your settings, select Save. |
|
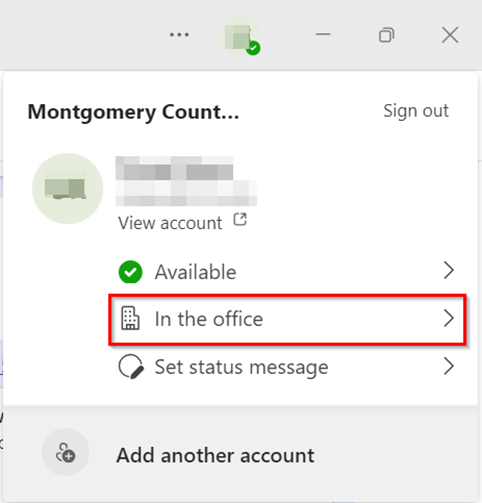
| 7.After saving your hours and location, the information will sync to Teams. Teams will display your location under the availability status on your profile card in the top-right of the app. |
|
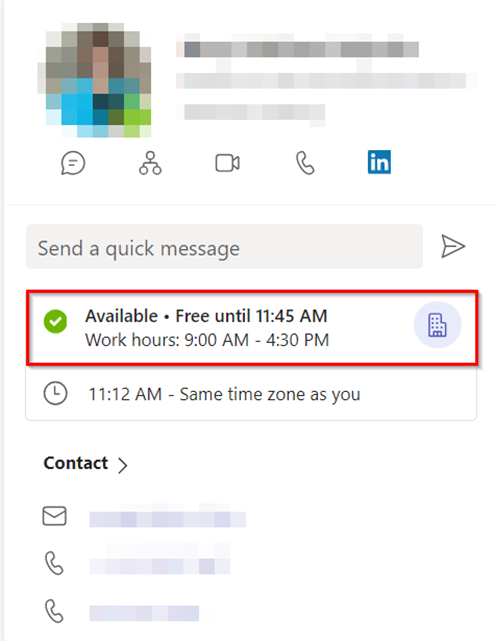
| 8.If your colleagues have set up their work hours and location, you will see that information when hovering over their profile card in a Teams chat. |
|
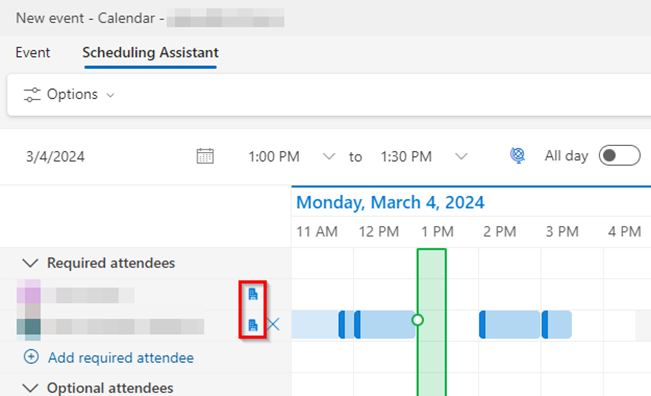
| 9.When scheduling a meeting, you will be able to see attendee locations in the Scheduling Assistant. |
|
