FYE 101 Portfolio - Step 2: Adding Content to your Portfolio
Estimated Reading Time: 4 Minutes| 2022 |
FYE 101 Portfolio- Step 2: Adding Content to your Portfolio
|
As part of theFYE 101 requirements you are asked to create a digital portfolio. Your portfolio is to be created using Microsoft Offices tool called OneNote. OneNote is like a digital notebook where you can create sections and pages of content. Upload documents, images, video and more. Creating your portfolio is a 3-step process. The directions below will walk you through Step 2,Adding Content to yourPortfolio. |
| 1. Login to Montco Connect. |  |
|
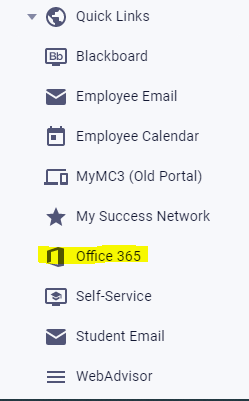
| 2. Navigate to the Quick Links drop down menu, select the Office 365 icon
Note: If you do not see this icon, navigate to https://www.mc3.edu/ office365 |
|
|
| 3. Click the OneNote icon. |
|
|
| 4. Locate and click the name of your Portfolio Notebook. | ||
|
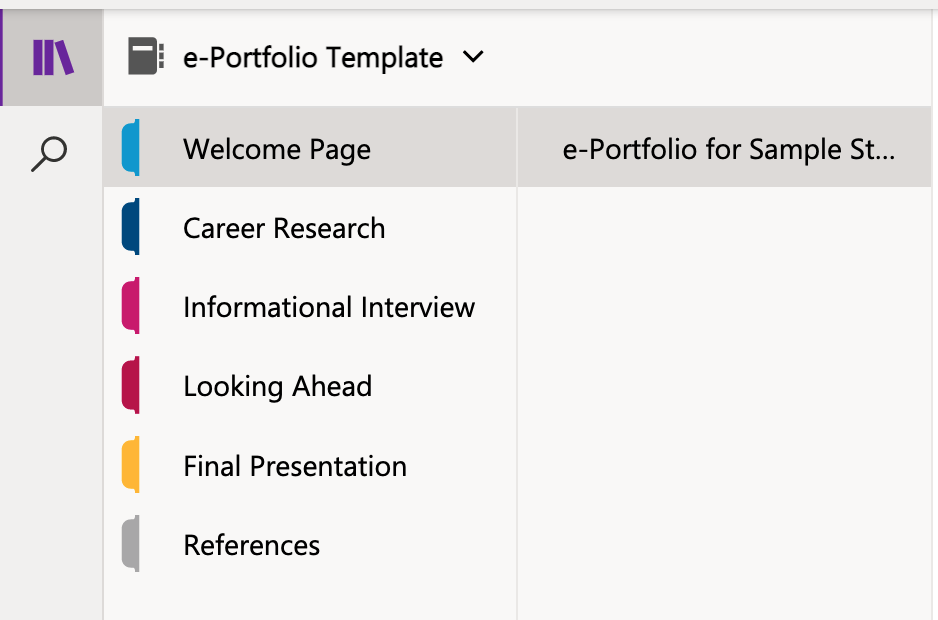
5. Your Sections and Pages within each section should already have been added to your Notebook. If you have not yet added your sections and pages, please refer to the following KnowledgeBase article: FYE 101 Portfolio - Step 1: Creating your Portfolio |
|
|
|
6. Once you opened your portfolio you can begin adding content to the page. For Parts I and II of your Portfolio, you will be adding content by typing it directly into the pages that you have set up in OneNote. |
||
|
7. You can also add content to a OneNote Notebook in multiple ways depending on how you have the content saved. To complete your e-portfolio, you will need to add the following types of content items:
|
||

Adding a File
| 1. Click the Insert tab in the upper left corner. |
|
|
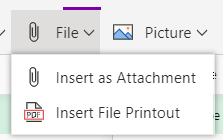
| 2. Click File . |
|
|
|
3. Determine if you want to insert a file as an Attachment or as a File Printout. Please add your resume and cover letter as a File Printout.
|
|
|


Adding a Link
You will be adding a link to your final presentation for Part IV of your portfolio.
| 1. Open your presentation in PowerPoint online. | ||
| 2. Click the Share button in the upper right corner. |
|
|
| 3. Under Copy Link, click the Copy button. |  |
|
| 4. Open your ePortfolio in OneNote. Go to the page you wish to add a link. | ||
| 5. Click theInserttab in the upper left corner. |
|
|
| 6. ClickLink. |
|
|
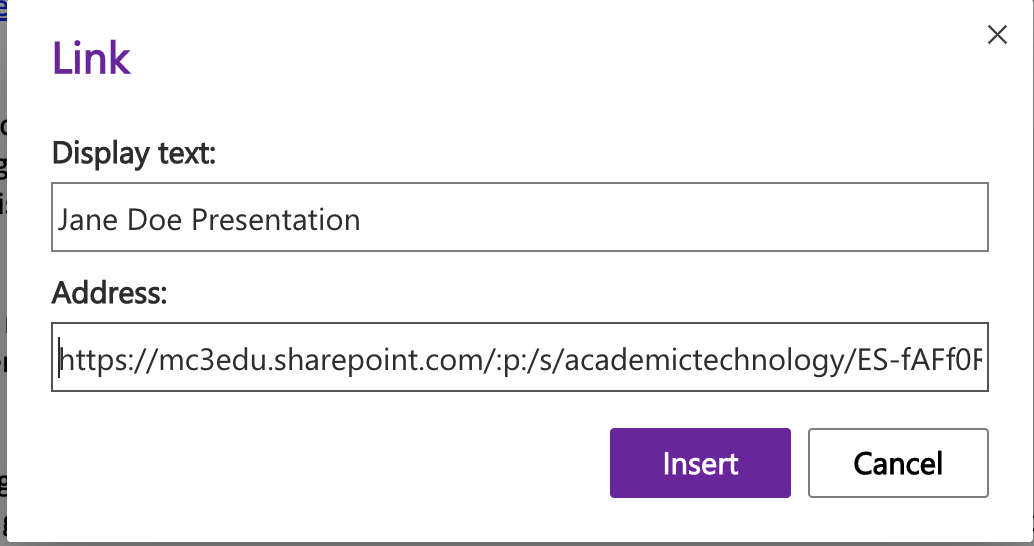
| 7. A pop-up window will appear. | ||
|
8. In theDisplay Textbox enter the text you wish to appear for the link you are inserting. Since you are adding the link for your Presentation, you want to make theDisplay Text "Your Name Presentation" (ex. Jane Doe Presentation) |
|
|
| 9. In theAddressbox enter or paste the web link youcopied from your PowerPoint presentation. | ||
| 6. ClickInsertwhen you are finished. | ||


In addition to adding Files and Web Links you can also add Pictures, Audio Files, and Scanned Documents. Although these are not typically required portions of your portfolio for this class, you may
wish to include them, or your instructor may ask that you include files of this type depending on his/her preference.
Adding a Picture
| 1. Click the Insert tab in the upper left corner. |
|
|
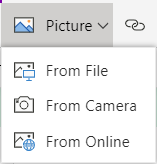
| 2. Click Picture . |
|
|
|
3. Determine if you want to insert a Picture from a File , Camera , or from Online .
|
|
|

Adding Audio
| Note: This feature will only work if you have access to a microphone. |
| 1. Click the Insert tab. |
|
|
|
2. Click Audio. Note: When you click Audio the recorder will automatically begin recording. |
|
|
| 3. An audio tab will now open in your Notebook. |
|
|
| 4. Click Stop when you are finished. |
|
|
|
5. A link to the Audio that you recorded will appear on the page. Note: The link to the audio clip may take some time depending on the length of the audio |
|
|


Adding a Scanned Document
| Note: Adding a scanned document requires the use of a mobile device or tablet. |
| 1. Download the OneNote app to your mobile device from your mobile devices app store. |
|
|
| 2. After the download is complete, open the OneNote app and login using your College username and password. | ||
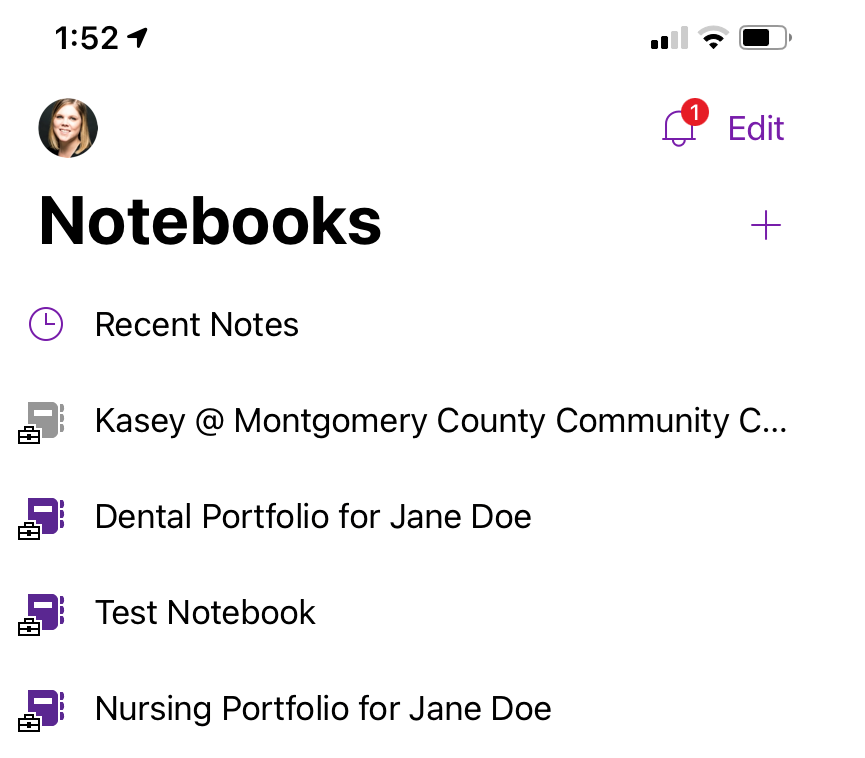
| 3. Once connected, locate yourPortfolio Notebook. | ||
| 4. Tap the Notebook to enter it. |
|
|
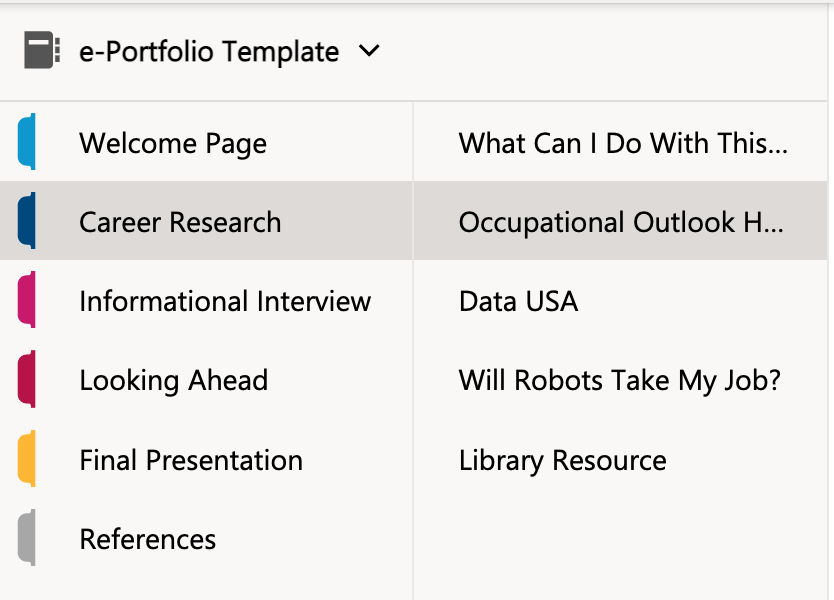
| 5. Tap the Section of your Notebook where you want to add the scanned document. |
|
|
| 6. Tap the Page where you want to add the scanned document. |
|
|
| 7. Tap the space on the page where you want to add the document. |
|
|
|
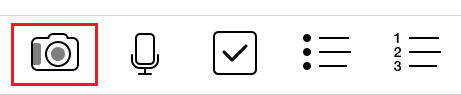
8. A toolbar will appear at the bottom of your screen. Tap the Camera icon. |
|
|
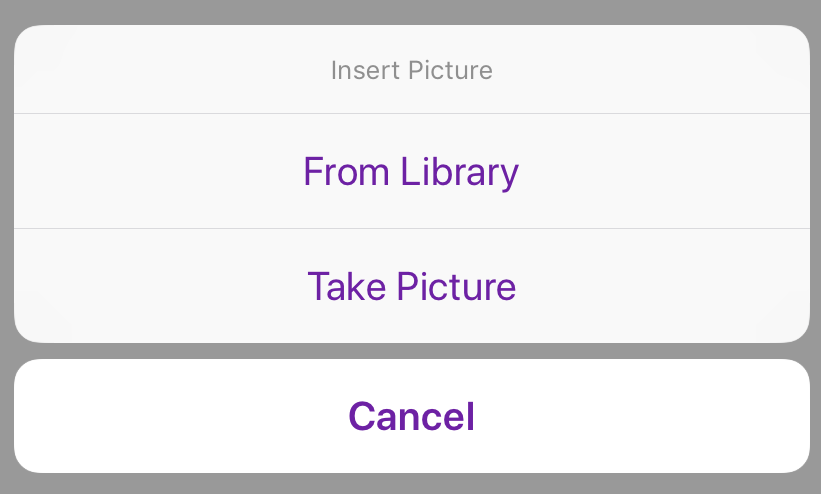
| 9. Then tap Take Picture . |
|
|
| 10. Your phone may ask you if it is okay that this app accessed your Camera. Press OK if this occurs. | ||
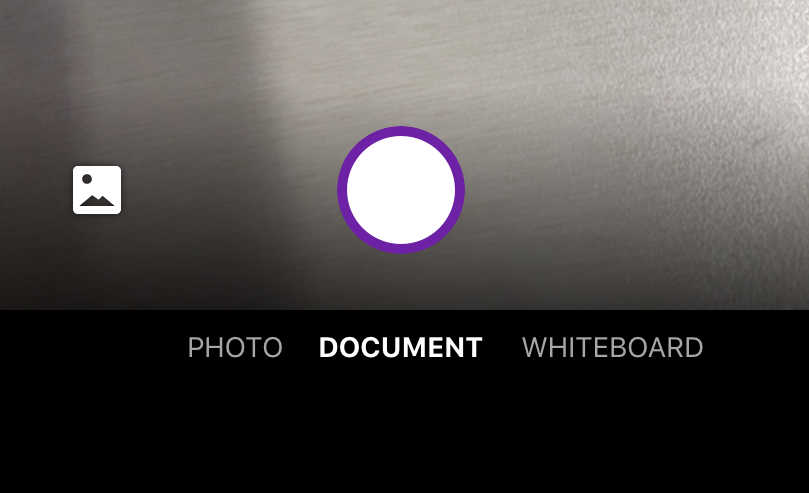
| 11. From the options listed below, tap Document. |
|
|
|
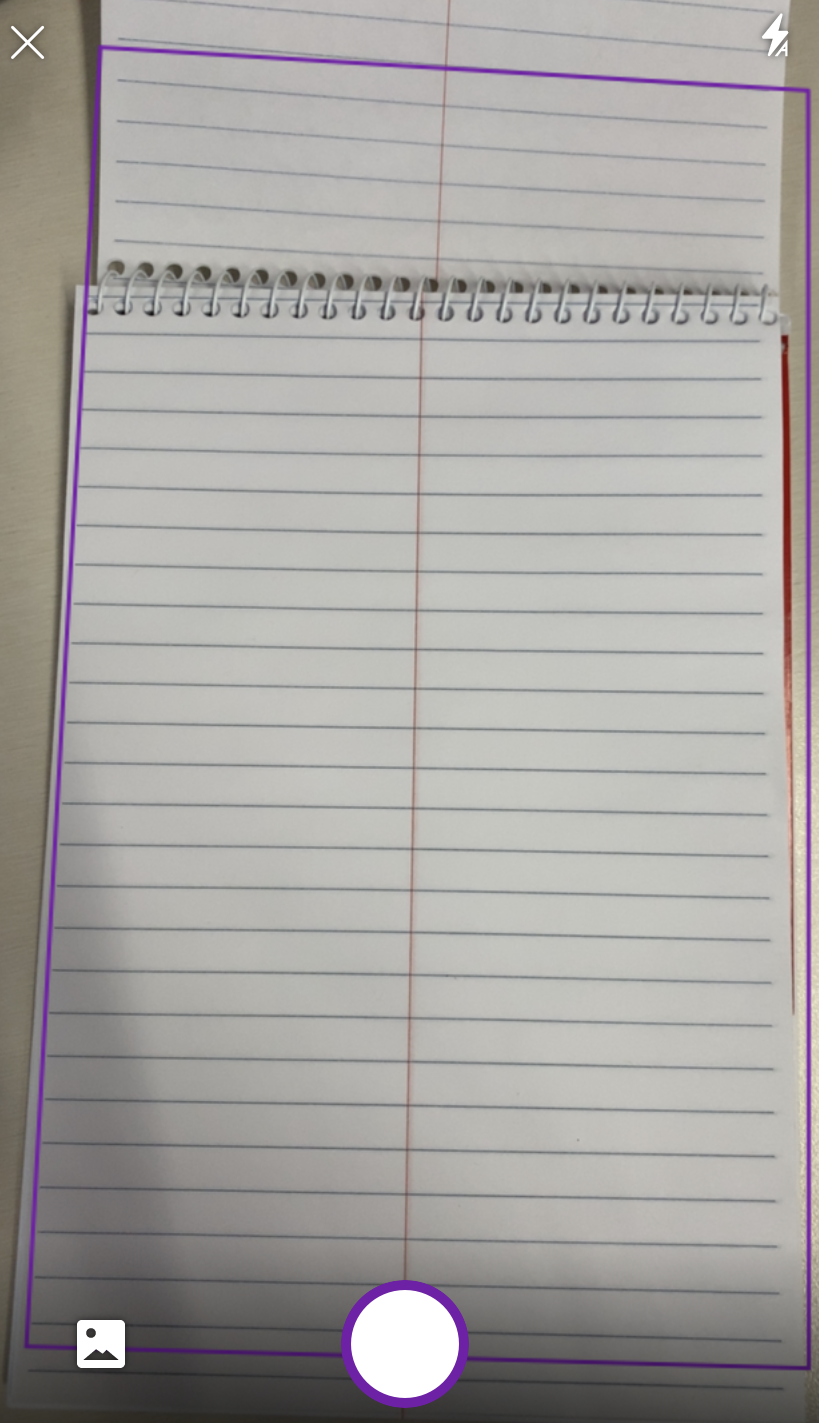
12. Hold your phone over the document you want to scan. Make sure the document is on a flat surface. A purple box will appear around the document so you can see what you are taking a picture of. |
|
|
| 13. Press the Take Picture icon to take the picture of the document. |
|
|
| 14. You can use any of the editing tools in the upper right corner to crop or rotate the image if necessary. |
|
|
| 15. Press Done when you are finished. |
|
|
| 16. The document will now be in your Portfolio Notebook. |
|
|
| 17. To Edit of Move the document, access you Portfolio Notebook from your computer. | ||