| 2025 |
Students - Accessing and Recording in Group Spaces within Teams
Accessing Teams Group Space
| Instructions | Images for Instructions |
|
1. Within Montco Connect, select Canvas. 2. Select the course from the Dashboard. |
|
| 3. SelectMicrosoft Teams classeson the course menu. |
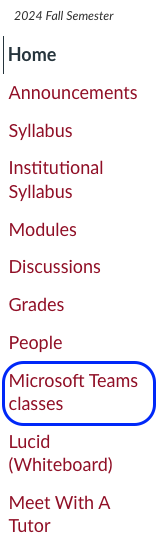 |
| Note: If prompted, sign in using your[email protected]email address. |  |
| 4.SelectOpenunder the course name. | 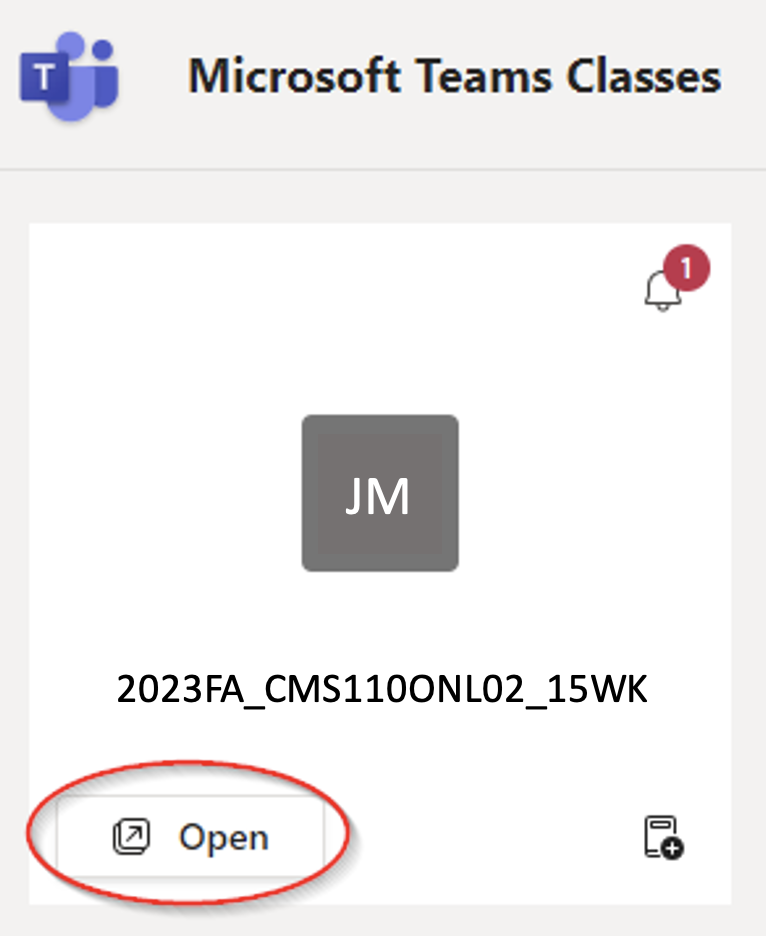 |
|
5. SelectUse the web app insteadbutton.
|
 |
|
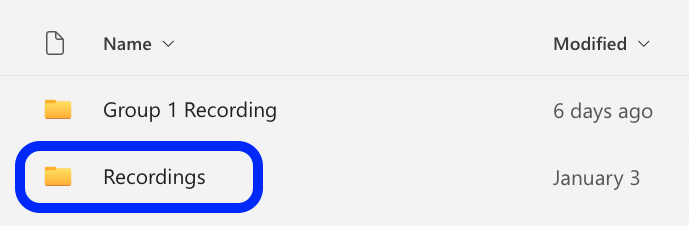
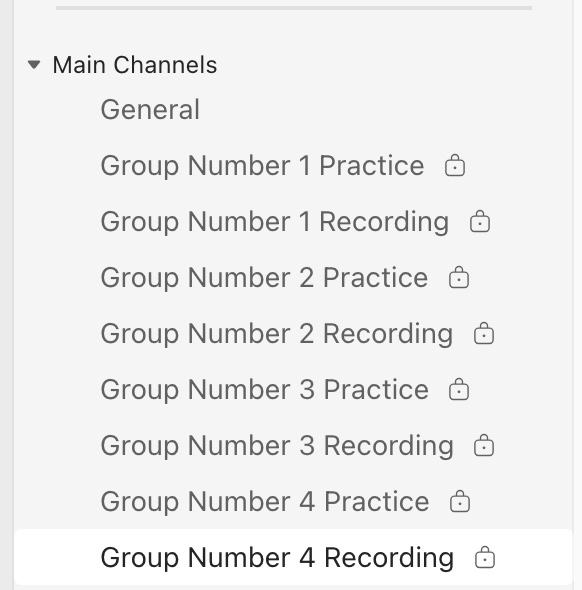
6. Within the Teams environment, on the left menu, under Main Channel, will be a list of groups. Note: Each group will have two Teams Channel spaces: a Group Practice channel and a Group Recording channel. Practicewill be used to practice speeches with each other. Recording will be used for final recordings. This space is where the instructor will look to grade the final speeches. Use this space when ready to record. |
 |
|
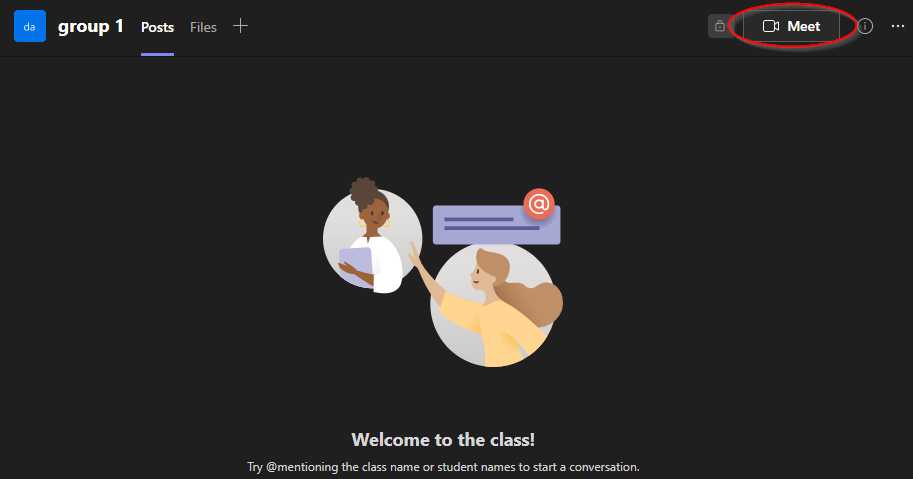
7. Open the designated channel within Teams and select the Meet option in the top-right. |
|
|
8.In the new window, a dialog box is under the Microsoft Teams logo and Microsoft Teams meeting title where the sessions name will need to be added. Highlight the text and begin typing the name of the meeting to identify the recording afterward. |
 |
|
9. Checks the computer camera by selecting the slide bar to turn it on. This is a good time to check what is in the cameras background before logging in. |
|
|
10.When ready, select the Join now button. |
|
|
11. Select Add participants to add group members to the session. |
|
|
12. A menu will appear with a list of the group members. Select theRequest to join button next to each group member. This calls them. Note:If the group member is logged in, they will receive a dialog box asking them to join the call. |
|
|
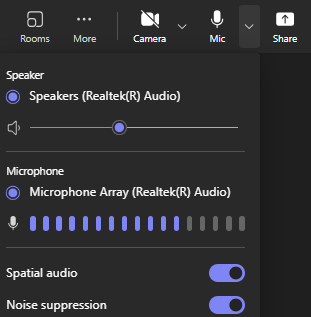
Note: Before practicing or recording, verify the microphone and camera are working. To verify, select the drop-down arrow next to each one. Note: If checking the audio, begin speaking and see the bars move back and forth based on the voice reflection. If the bars are not moving, see if there is another microphone option and select that from the list. |
|
|
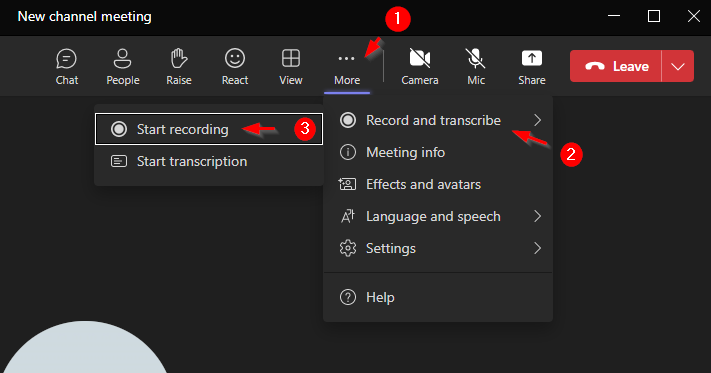
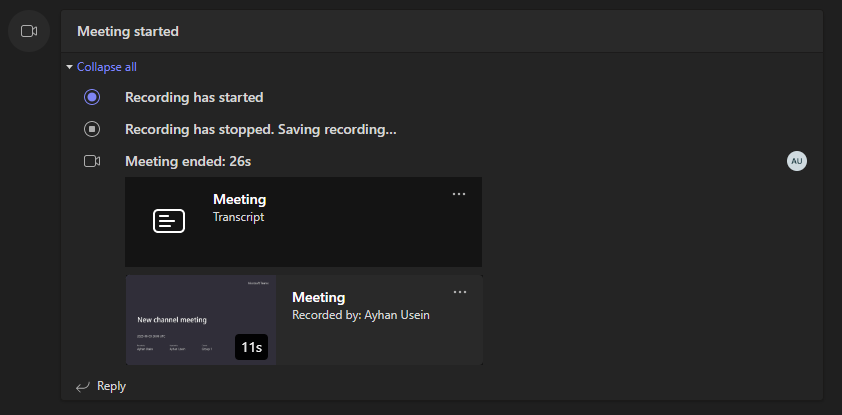
Note: At the top of the screen is a list of options associated with the session.
|
|


.png)