| 2025 |
Recording in Teams Channel
| Instructions | Images for Instructions |
| 1. Open the private channel within Teams and select the Meet option in the top-right | 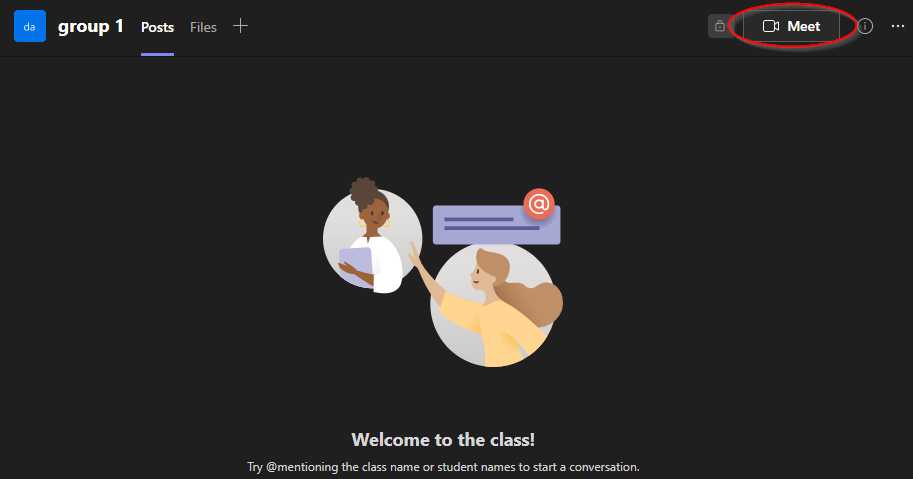 |
|
2. In the new window, a dialog box is under the Microsoft Teams logo and Microsoft Teams meeting title. Highlight the text and begin typing the name of the meeting to identify the recording afterward. |
|
|
3. Checks the computer camera by selecting the slide bar to turn it on. This is a good time to check what is in the cameras background before logging in. |
|
| 4. When ready, select the Join now button. |
|
|
Note: Before recording, verify the microphone and camera are working. To verify, select the drop-down arrow next to each one. If checking the audio, begin speaking and see the bars move up and down based on the voice reflection. If the bars are not moving, see if there is another microphone option and select that from the list. |
|
| 5. When ready to begin the recording, select More -> Record and transcribe -> Start Recording | 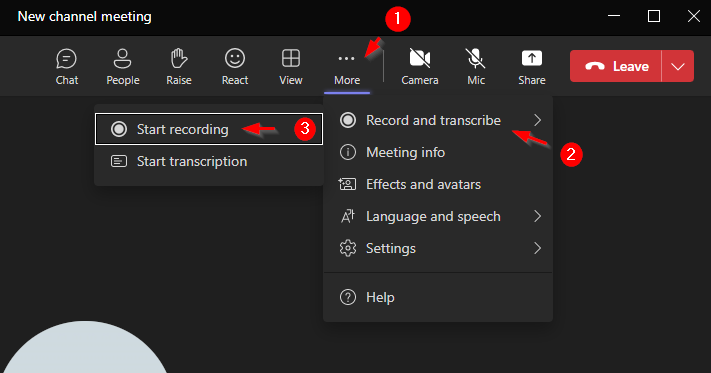 |
| 6. Once done recording, select Stop recording where Start recording used to be located. | 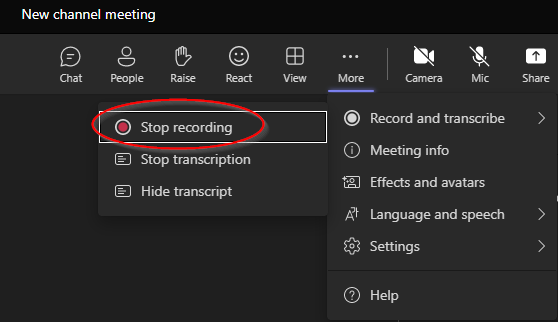 |
|
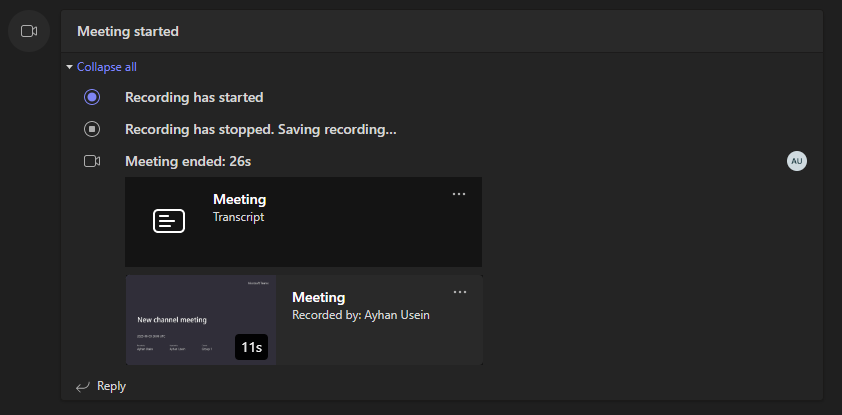
7. The recording will now be saved in the Teams channels chat space. Note: The instructor can access the recording in the Teams channels chat or through the Recordings tab. You do not need to send a link. |
 |
|
Note: If there is a desire to verify that the recording is clear and audible. Click the Recordings tab at the top of the Group Recording space.Navigate to the group recordings folder to find the recording file. |
.png) |