| 2021 |
Students - Step 1: Creating your Portfolio
|
Your portfolio is to be created using Microsoft Offices tool called OneNote. OneNote is like a digital notebook where you can create sections and pages of content. Upload documents, images, video and more. Creating your portfolio is a 3-step process. The directions below will walk you through Step 1, Creating your Portfolio. |
| 1. Login toMontco Connect(the portal) | 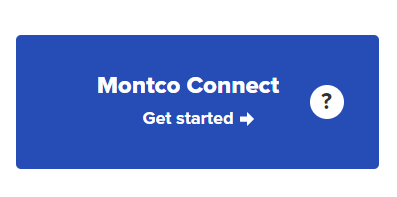 |
|
|
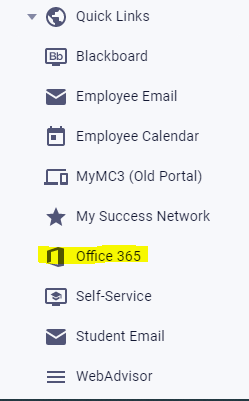
2.Navigate to theQuick Linksdrop down menu,selecttheOffice 365icon Note:If you do not see this icon, navigate tohttps://www.mc3.edu/office365 |
|
|
| 3. Click theOneNoteicon. |
|
|
| 4. In the upper left corner, clickNew notebook. |
|
|
|
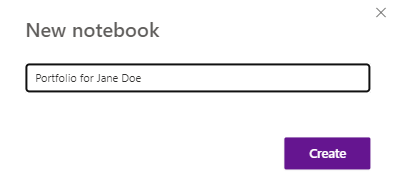
5. Give your Notebook the name your instructor has indicated.For example, Portfolio for Jane Doe. Then clickCreate. |
|
|
|
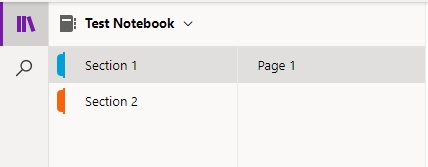
6. As indicated by your instructor, you will need to provide content for specificsections in your portfolio. To add content to these areas you will need to createSectionsin your Notebook. |
||
| 7. In lower left corner of your Notebook, click the AddSectionicon. |
|
|
|
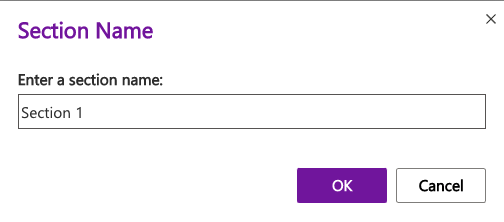
8. A pop-up window will appear. Enter the section name you wish to add. ClickOKwhen you are finished. You will need to do this for each Section that you are required to include as indicated by your instructor. |
 |
|
|
9. Once you have added your Sections you can begin adding your content which is Step 2 of the portfolio process. |
|
|