| 2016 |
Using ImageNow also know as Perceptive Content, you can efficiently capture and organize all types of documents, then retrieve a precise page instantly from within any business application at the moment it’s needed. ĀĀ
|
On the work desktop, click theĀĀPerceptive ContentĀ icon. |
 |
|
Enter your MCCC network User Name and Password. |
|
|
Click theĀ Connect Ābutton. |
Note: If you are using a multi-function device (a printer) to scan go to that subsection.Ā If you are not using the multi-function device, you must have a scanner hooked up to the same machine.
Note: Only the client version of ImageNow can scan documents.Ā
|
From the menu, click the Capture button. |
 |
Select your scan profile:
You will be prompted when the scanner is out of documents to scan.Ā
Click the Cancel or Stop button.
Go to your printer to scan the documents.
Note: On the printer, change the document type to TIFF.Ā
Email them to your designated email box.
Note: Typically, a dedicated email box is set up for your department just for use with Image Now. ĀThey will appear in your linking queue.Ā
Note: If using an MFD your documents will be in your Linking queue, skip the Ready for QA step. ĀIf you used the Image Now printer to send documents to Image Now, they will be in Ready for QA .
|
Note: Once a document is scanned, the image goes to Batches, waiting for you to QA (quality assure) it. Ā |
|
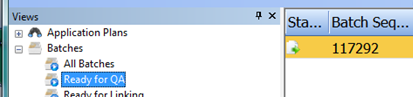
From the list, click the Batches folder.
From the list, click on Ready for QA .
Double click the document to open.
|
Note: ĀIf the Action screen (on the left of the screen) is not there, click on theĀ ViewĀ button |
 |
|
|
From the drop down menu, selectĀActions. |
||
|
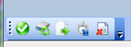
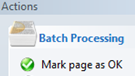
If your document looks good, click the check mark next to Mark Page OK . |
 |
|
|
Note : Notice at the bottom of the window also contains the green checkmark icon for your use. |
Ā
|
|
Ā
|
Note: Once you QA the document, it goes into your workflow and should be waiting for you in the capture link. |
|
|
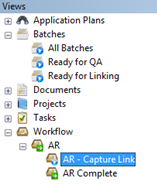
On the left side under Views, clickĀ Workflow . |
|
|
Click Ā AR (or your workflow). |
|
|
Click Ā AR- Capture Link (or your capture link queueĀin your workflow)Ā |
|
|
Open the document in Image Now by double clicking on it. |
|
| To fill in the Document Keys area you will need the student name or ID that is associated with the document. | Ā 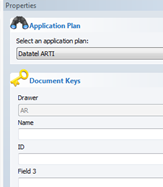 |
|
Open Colleague . |
|
|
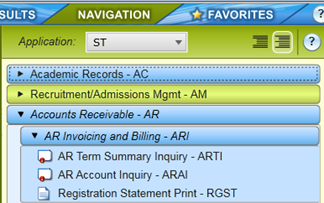
Click the Navigation Tab |
|
|
Next to Application select ST . |
|
|
Note: In this example, the application Plan details with ARTI.Ā The steps below are used to identify how to get information from ARTI. |
|
|
Under Accounts Recievable-AR , click AR Invoicing and Billing- ARI . |
|
|
Select AR Term Summary Inquiry- ARTI . |
|
|
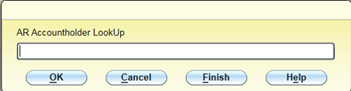
In the AR Accountholder LookUp, type the student name. |
|
|
Select the student from the list.Ā Ā |
Ā
|
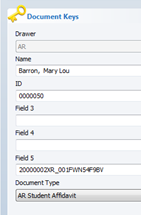
In Image Now, at the bottom of the window, click the gold key.ĀĀ This will populate the Document Key in the Properties area of the opened document. |
 |
|
Note:Ā ĀThe Name and ID have been automatically filled in on the Document Keys portion of the Properties area. |
|
| At the bottom of the Documents Keys area, select your document type in the properties area. |
Ā
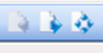
| To file the completed document, go to the bottom tool bar and click on theĀBlueĀright arrowĀicon. |
|
|
This Box will appear, click on Route button. |
|
|
Your document is now filed in your AR Complete drawer. |
|
When you are done with Image Now, click the Connect button.Ā |
 |
|
From the drop down menu, clickĀDisconnect. |
Article ID: 354
Created: November 5, 2014
Last Updated: April 21, 2023
Author: Geri Stokes
Online URL: https://kb.mc3.edu/article.php?id=354