| 2021 |
Students - Step 2: Adding Content to your Portfolio
|
Your portfolio is to be created using Microsoft Offices tool called OneNote. OneNote is like a digital notebook where you can create sections and pages of content. Upload documents, images, video and more. Creating your portfolio is a 3-step process. The directions below will walk you through Step 2,Adding Content to yourPortfolio. |
| 1. Login toMontco Connect. |  |
|
|
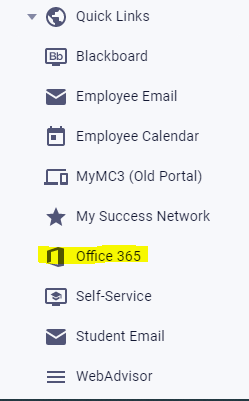
2.Navigate to theQuick Linksdrop down menu,selecttheOffice 365icon Note:If you do not see this icon, navigate tohttps://www.mc3.edu/office365 |
|
|
| 3. Click theOneNoteicon. |
|
|
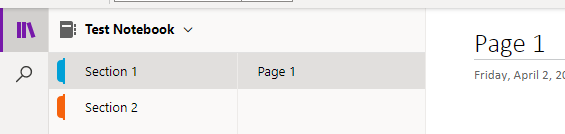
| 4. Locate and click the name of your Portfolio Notebook. | ||
|
5. Your Sections should already have been added to your Notebook. If you have not yet added your sections, please refer to the following knowledgebase article: Students - Step 1: Creating your Portfolio You will notice that any time you add a Section a blank Page appears. By default, the Page does not have a name. In the space provided, type a title for the Page you want to add to your section. |
|
|
|
6. Once you have given your page a name you can begin adding content to the page. You can add content to an OneNote Notebook in multiple ways depending on how you have the content saved. You can add the following content items:
|
||

Adding a File
| 1. Click theInserttab in the upper left corner. |
|
|
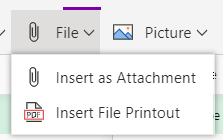
| 2. ClickFile. |
|
|
|
3. Determine if you want to insert a file as anAttachmentor as aFile Printout.
|
|
|


Adding a Picture
| 1. Click theInserttab in the upper left corner. |
|
|
| 2. ClickPicture. |
|
|
|
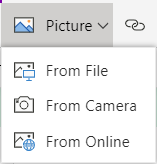
3. Determine if you want to insert a Picture from aFile,Camera, or fromOnline.
|
|
|

Adding a Link
| 1. Click theInserttab in the upper left corner. |
|
|
| 2. ClickLink. |
|
|
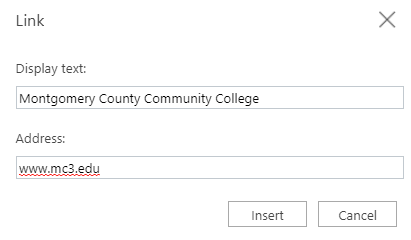
| 3. A pop-up window will appear. | ||
|
4. In theDisplay Textbox enter the text you wish to appear for the link you are inserting. For example, if you want to add the website link to Montgomery County Community College (www.mc3.edu) then you want to make theDisplay Text"Montgomery County Community College." |
|
|
| 5. In theAddressbox enter or paste the web link you wish to add. | ||
| 6. ClickInsertwhen you are finished. | ||


Adding Audio
| Note:This feature will only work if you have access to a microphone. |
| 1. Click theInserttab. |
|
|
|
2. ClickAudio. Note:When you click Audio the recorder will automatically begin recording. |
|
|
| 3. An audio tab will now open in your Notebook. |
|
|
| 4. ClickStopwhen you are finished. |
|
|
|
5. A link to the Audio that you recorded will appear on the page. Note:The link to the audio clip may take some time depending on the length of the audio |
|
|


Adding a Scanned Document
| Note:Adding a scanned document requires the use of a mobile device or tablet. |
| 1. Download theOneNote appto your mobile device from your mobile devices app store. |
|
|
| 2. After the download is complete, open the OneNote app and login using your College username and password. | ||
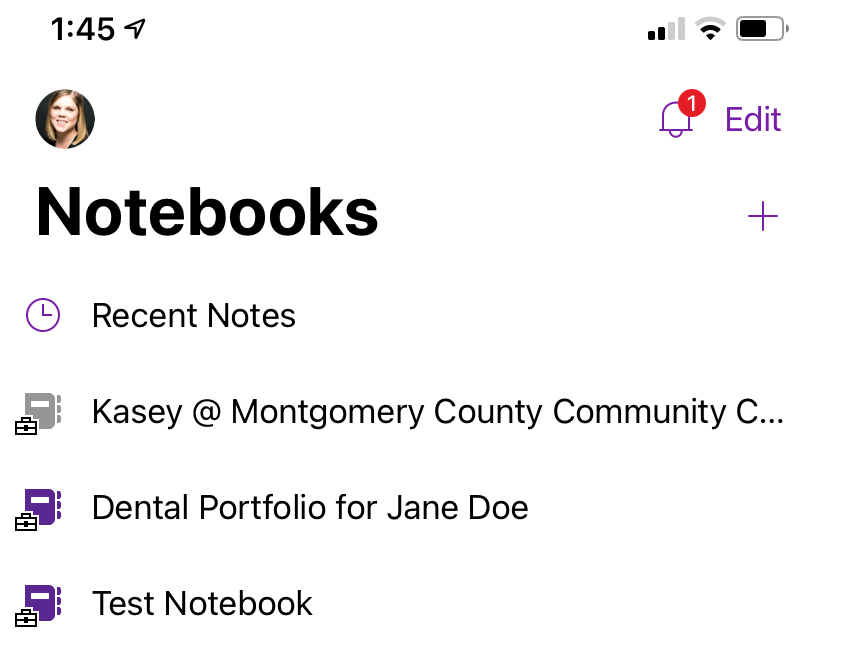
| 3. Once connected, locate your Portfolio Notebook. | ||
| 4. Tap the Notebook to enter it. |
|
|
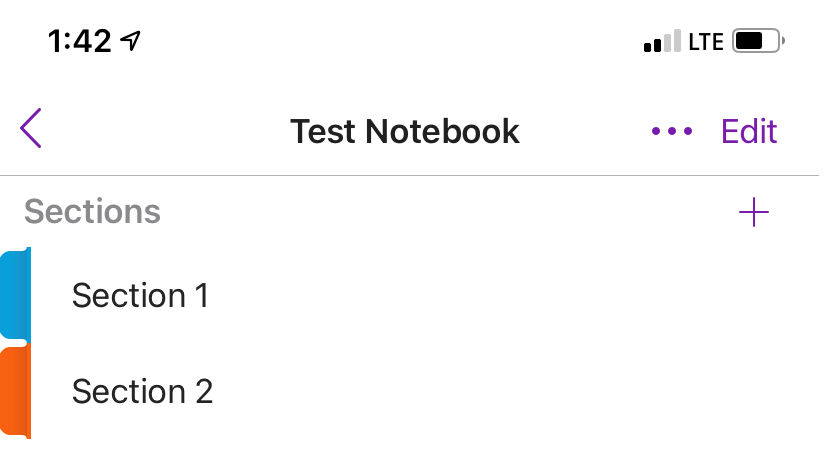
| 5. Tap theSectionof your Notebook where you want to add the scanned document. |
|
|
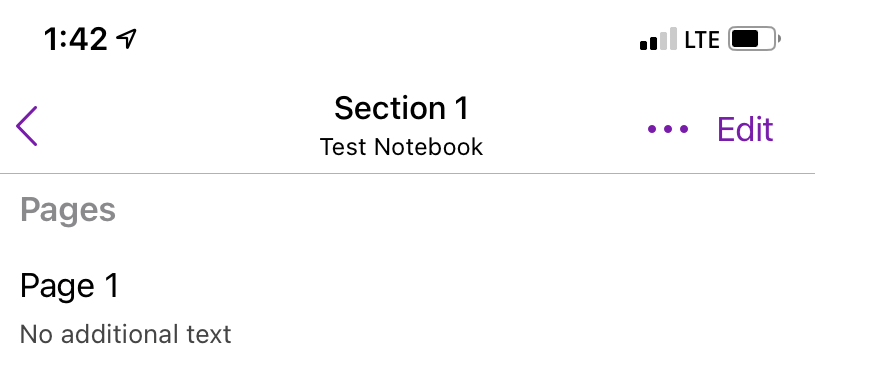
| 6. Tap thePagewhere you want to add the scanned document. |
|
|
| 7. Tap the space on the page where you want to add the document. |
|
|
|
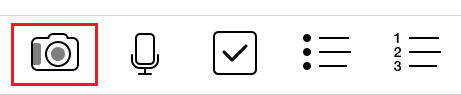
8. A toolbar will appear at the bottom of your screen. Tap theCameraicon. |
|
|
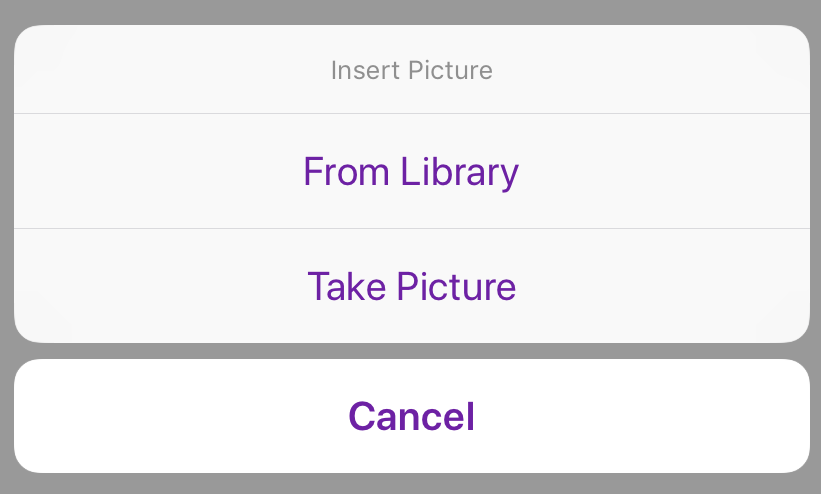
| 9. Then tapTake Picture. |
|
|
| 10. Your phone may ask you if it is okay that this app accessed your Camera. PressOKif this occurs. | ||
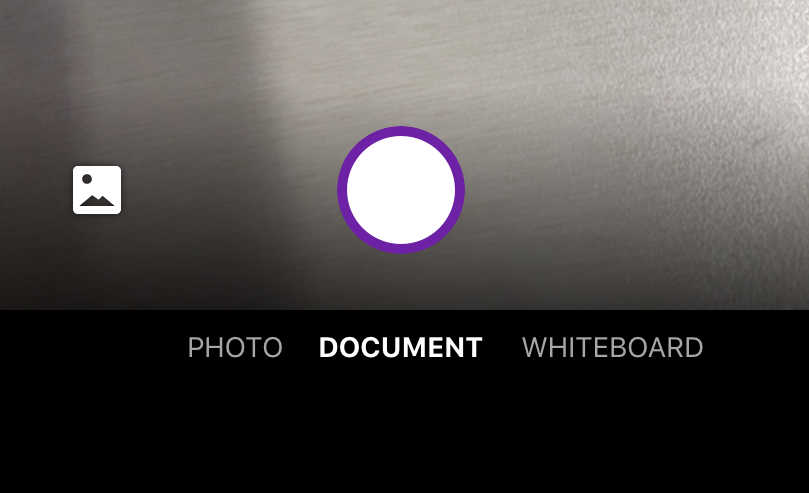
| 11. From the options listed below, tapDocument. |
|
|
|
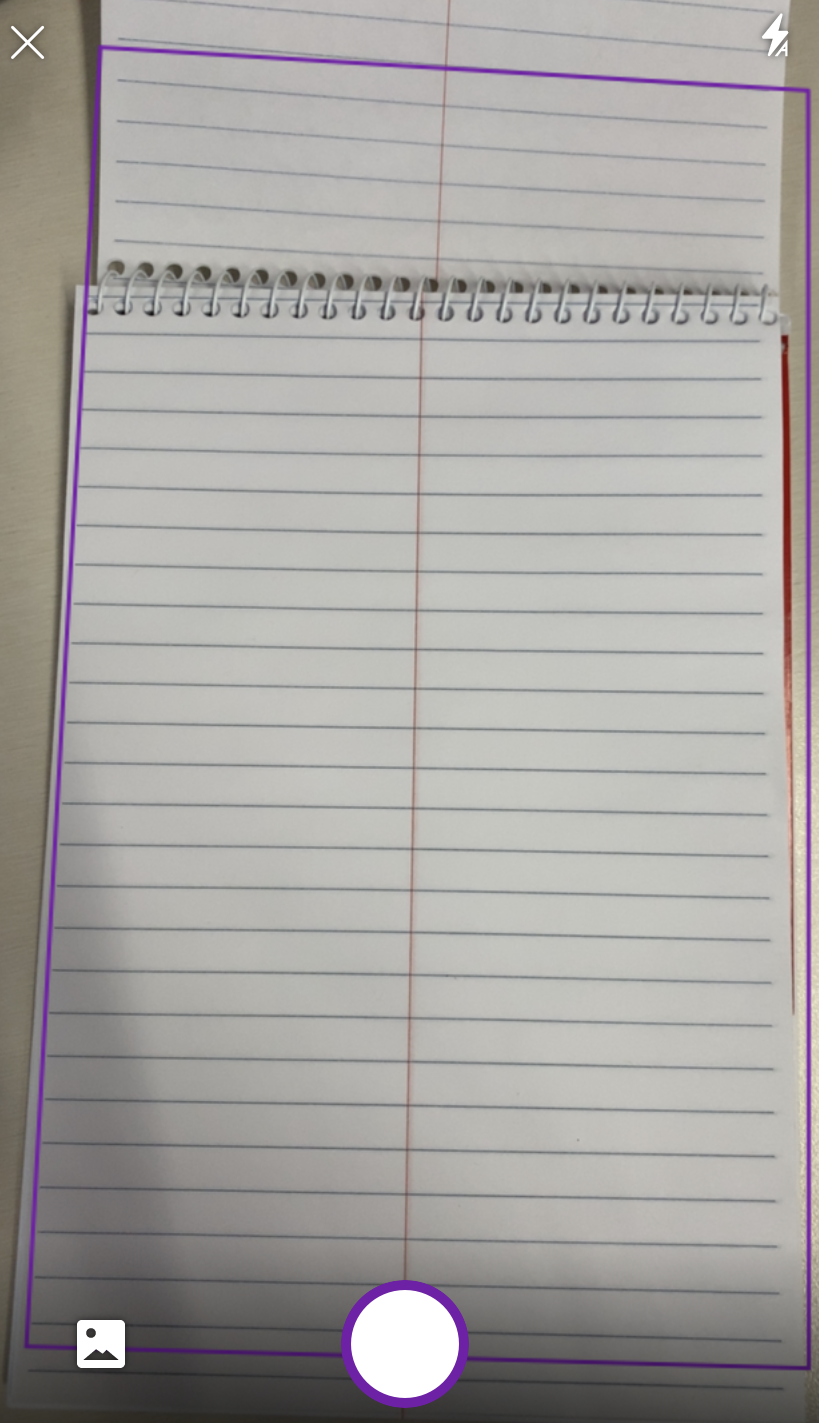
12. Hold your phone over the document you want to scan. Make sure the document is on a flat surface. A purple box will appear around the document so you can see what you are taking a picture of. |
|
|
| 13. Press theTake Pictureicon to take the picture of the document. |
|
|
| 14. You can use any of the editing tools in the upper right corner to crop or rotate the image if necessary. |
|
|
| 15. PressDonewhen you are finished. |
|
|
| 16. The document will now be in your Portfolio Notebook. |
|
|
| 17. To Edit or Move the document, access you Portfolio Notebook from your computer. | ||